How We Created Our Viral AI Rendering Video (In Just 3 Hours)
If you’ve seen our recent video making the rounds, you might be wondering how it was created.
The short answer: a fast, AI-powered workflow that skips the traditional 3D rendering process entirely.
The long answer? We’re breaking it down step by step so you can replicate it yourself.
Step 1: Generate the Base Renderings with VizCloud
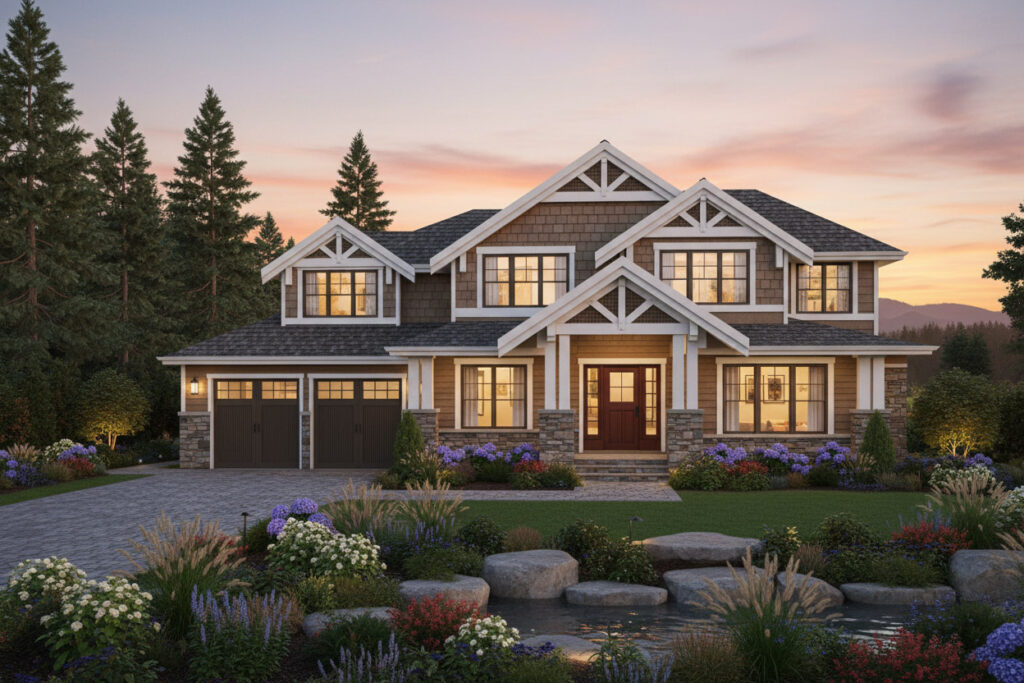
Everything starts with the visuals.
Instead of building a full 3D model from scratch, we used our own tool (enter VizCloud) to generate high-quality renderings directly from CAD drawings.
You can try it here: VizCloud
We uploaded simple elevation plans and used detailed prompts to define:
- Exterior materials (siding, brick, roofing)
- Windows and trim styles
- Landscaping and environment
- Lighting and overall mood
The key here is being very specific with your prompt. The more detail you give, the better the output.
Within minutes, we had a set of clean, consistent renderings that looked like they came out of a full 3D pipeline — without actually building one.
Step 2: Create First & Last Frames for Each Scene
Once we had our base renderings, we needed to think about motion.
Instead of generating full videos right away, we focused on creating keyframes:
- A starting frame (e.g., early stage or empty lot)
- An ending frame (fully completed home)
These act as anchors for the animation.
There are tools like Google Nano Banana that can help generate variations or intermediary visuals, but the most important part is having a clear end state to transition toward.
This gives the animation direction and makes the final result feel intentional rather than random.
Step 3: Animate the Transition with Kling
This is where things get really interesting.
We took the first and last frames and used Kling AI to generate the motion between them.
Instead of manually animating anything, we simply prompted the transition.
For example:
“Transition between these two images as if a crew of workers is constructing the building in a fast-motion time-lapse.”
Kling then generates a video that visually “builds” from the first image to the second.
We experimented with a few variations:
- Construction time-lapse
- Smooth architectural reveal
- Environmental transitions
Each prompt creates a slightly different feel, so it’s worth testing a few to find the one that matches your vision.
Step 4: Assemble Everything in Filmora
Once all the clips were generated, we brought everything into Wondershare Filmora to finalize the video.
This step is straightforward but important.
We used Filmora to:
- Trim and sequence the clips
- Add subtle transitions between scenes
- Adjust timing and pacing
- Export the final video in the correct format
No heavy editing was required — most of the work was already done in the earlier steps.
Total Time: About 3 Hours
From start to finish, the entire process took roughly 3 hours:
- ~1 hour generating and refining renderings
- ~1 hour creating frames and testing transitions
- ~1 hour assembling and exporting the final video
Compared to traditional workflows (which can take days or weeks), this is a massive speed improvement.
Why This Workflow Works
This approach is powerful because it breaks the process into simple, modular steps:
- Generate visuals quickly (no full 3D modeling)
- Define clear start and end points
- Use AI to handle the in-between motion
- Light editing to finalize
You’re not relying on a single tool to do everything — you’re combining specialized tools, each doing what it does best.
Who This Is For
This workflow is especially useful for:
- Architects and home designers
- Real estate developers
- Marketing teams
- Anyone who needs fast, high-quality visuals
If you’re presenting ideas, pitching projects, or creating content, this lets you move much faster without sacrificing quality.
Final Thoughts
What used to require a full 3D team, complex software, and long timelines can now be done in a single afternoon.
The biggest shift isn’t just speed — it’s flexibility.
You can test ideas, make changes, and iterate instantly.
If you haven’t tried this kind of workflow yet, now is the time.
Start with your drawings, generate your visuals, and build from there.
If you want to try it yourself, start by creating your first render here: VizCloud